Arduino projects
Arduinos are perfect for IoT (internet of things) projects. There are a lot of cheap modules available to measure, control, ... almost everything.
1. Displays
OLED 0.96"; (128x64 pixels) see also below under GPS decoder
There are mainly 2 types available
I2C module:
Pins are GND, Vcc, SCL, SDA
Bus address
is selectable between 0x78 and 0x7A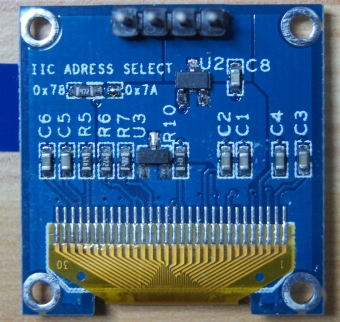
4 wire SPI/ 3 wire SPI / I2C module: configuration is done by restistors and
bridge (R8)
Pins are GND, Vcc, SCL/D0, SDA/D1, Res(et), D(ata)C(ommand)
and CS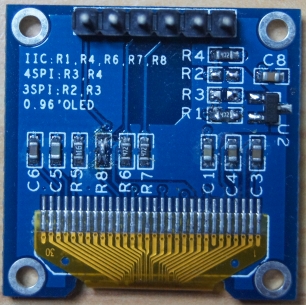
2. Tx/Rx module
RFM12B by HopeRF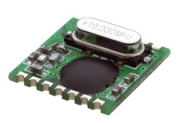
LoRa RFM92W
868 MHz module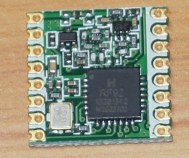
3. Arduino projects
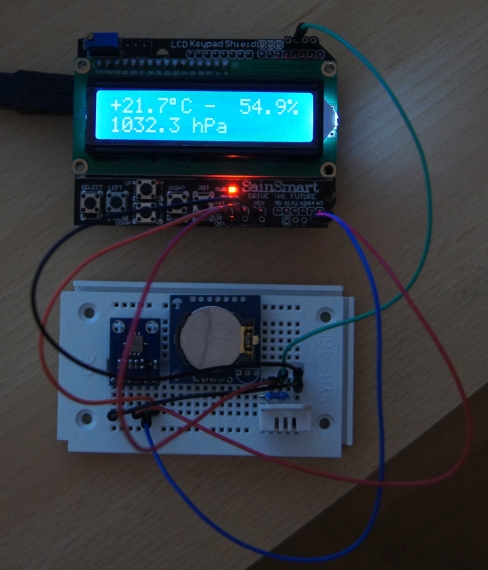
Simple weather station (temperature, humidity, pressure, heat index). In the middle there is a clock module with buffer battery.
- Speaking GPS clock made by DJ7OO
Here is a short video (2.5 MB).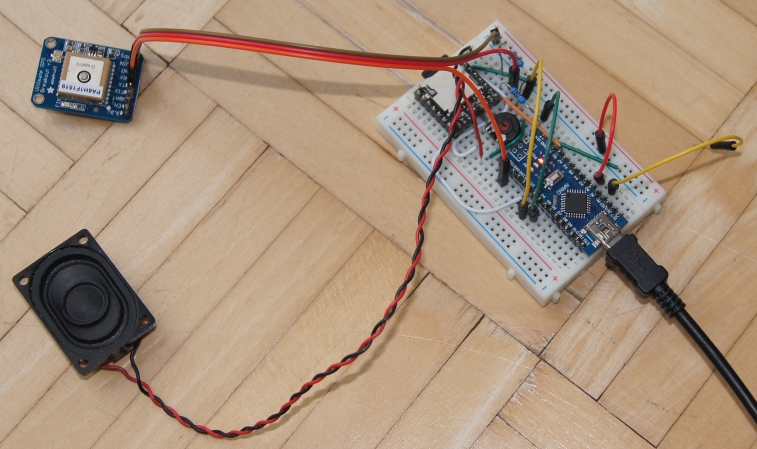
- GPS decoder with OLED made by DJ7OO
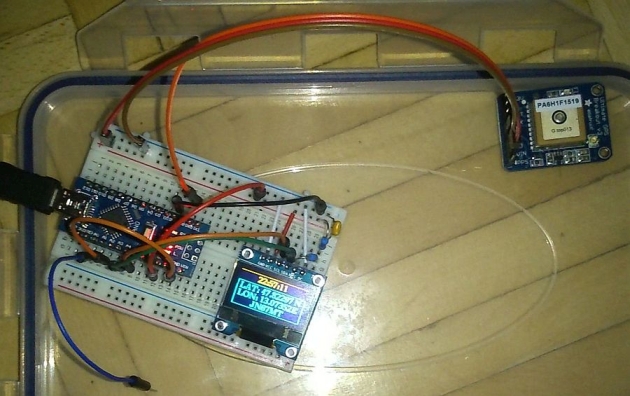
OLED I2C connection:
My OLED was configured for 4-wire SPI and supports also 3-wire SPI and I2C.
But you can resolder it to I2C.
You need to resolder the resistor from position R3 to R1.
Then you need to short R8 with some solder tin (0 Ohm resistor). R6 and R7
(pullups for SDA and SLC) are already soldered.
Now your OLED supports I2C. The CS pin is not needed, wire it to GND.
The DC pin selects the address. For standard address (x03C) wire it to GND,
for address x03D wire it to VCC (5V).
Beware of the RES-pin. It needs a low pulse at startup and high voltage
during operation. I suggest a 100nF cap to GND and a
10k resistor to VCC.
With Arduino Mini Pro 3.3V/8MHz and 3.7V LiPo accu.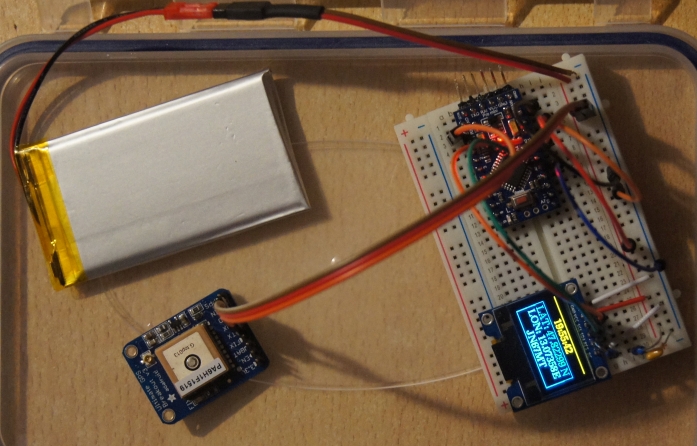
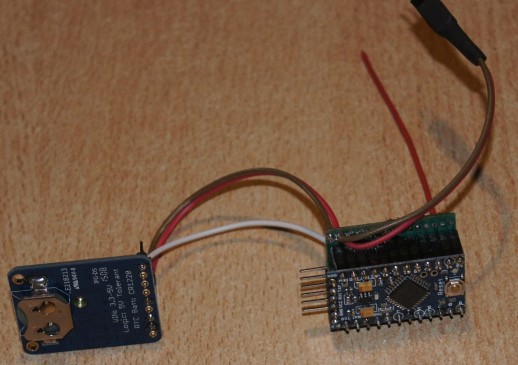
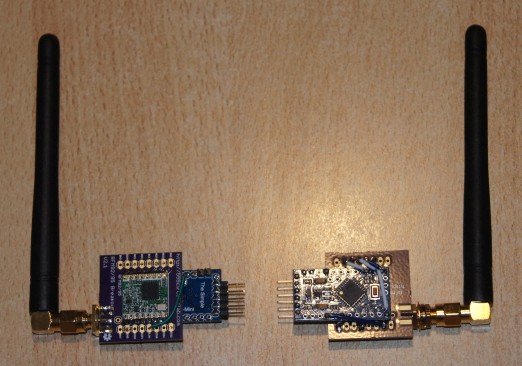
- LoRa 868 MHz receiver/transmitter with GPS, OLED and bluetooth module made byDJ7OO
Transmitter sends GPS data and accu voltage.
Receiver shows GPS data and accu voltage on OLED and sends GPS coordinates via bluetooth
to my smartphone.
LOCUS smartphone app is able to display my transmitter location on LOCUS maps. 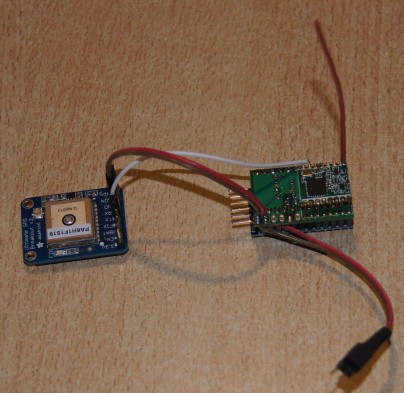

- LoRa 440 MHz receiver/transmitter
- Sim800L module
With a sim card it is perfect for my IoT (internet of things) tests.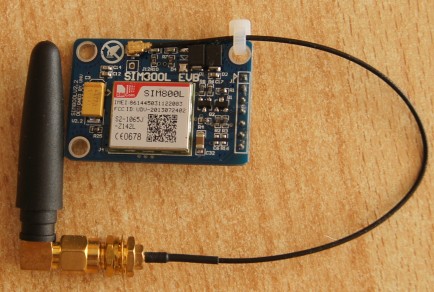
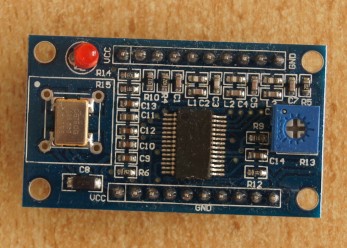
- Different signal generators
This one can use a 10 MHz reference instead of the Xtal.
This
one has also a 10 MHz reference input and output goes up to 4 GHz.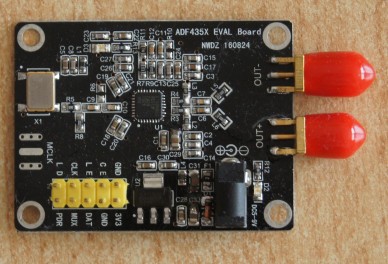
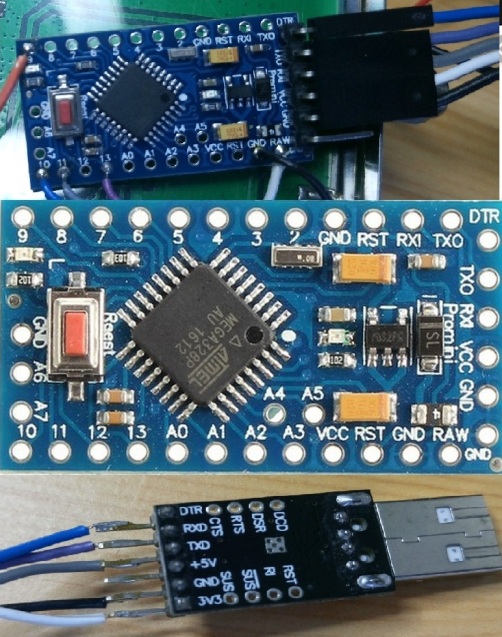
4. Arduino Mini Pro - USB connection